DIY: Make your own illustrated emotional icons!
Get creative with this at home activity by Ontario Culture Days @ The Library Resident Amanda Lederle, then submit a scan or photograph of your work for a chance to win a FUJIFILM Instax® Mini 11.
Creating small icons to represent our experiences allows us to quickly grasp the feelings and capture the moment.
In this activity you will get to learn the basic building blocks of illustrating anything using basic shapes to create drawings or ‘stickers’ to represent a day in the life or emotions from an event to add to your journal or use have as a keepsake.
Adding illustrations of memories, feelings and text can enhance the memories of the experience.
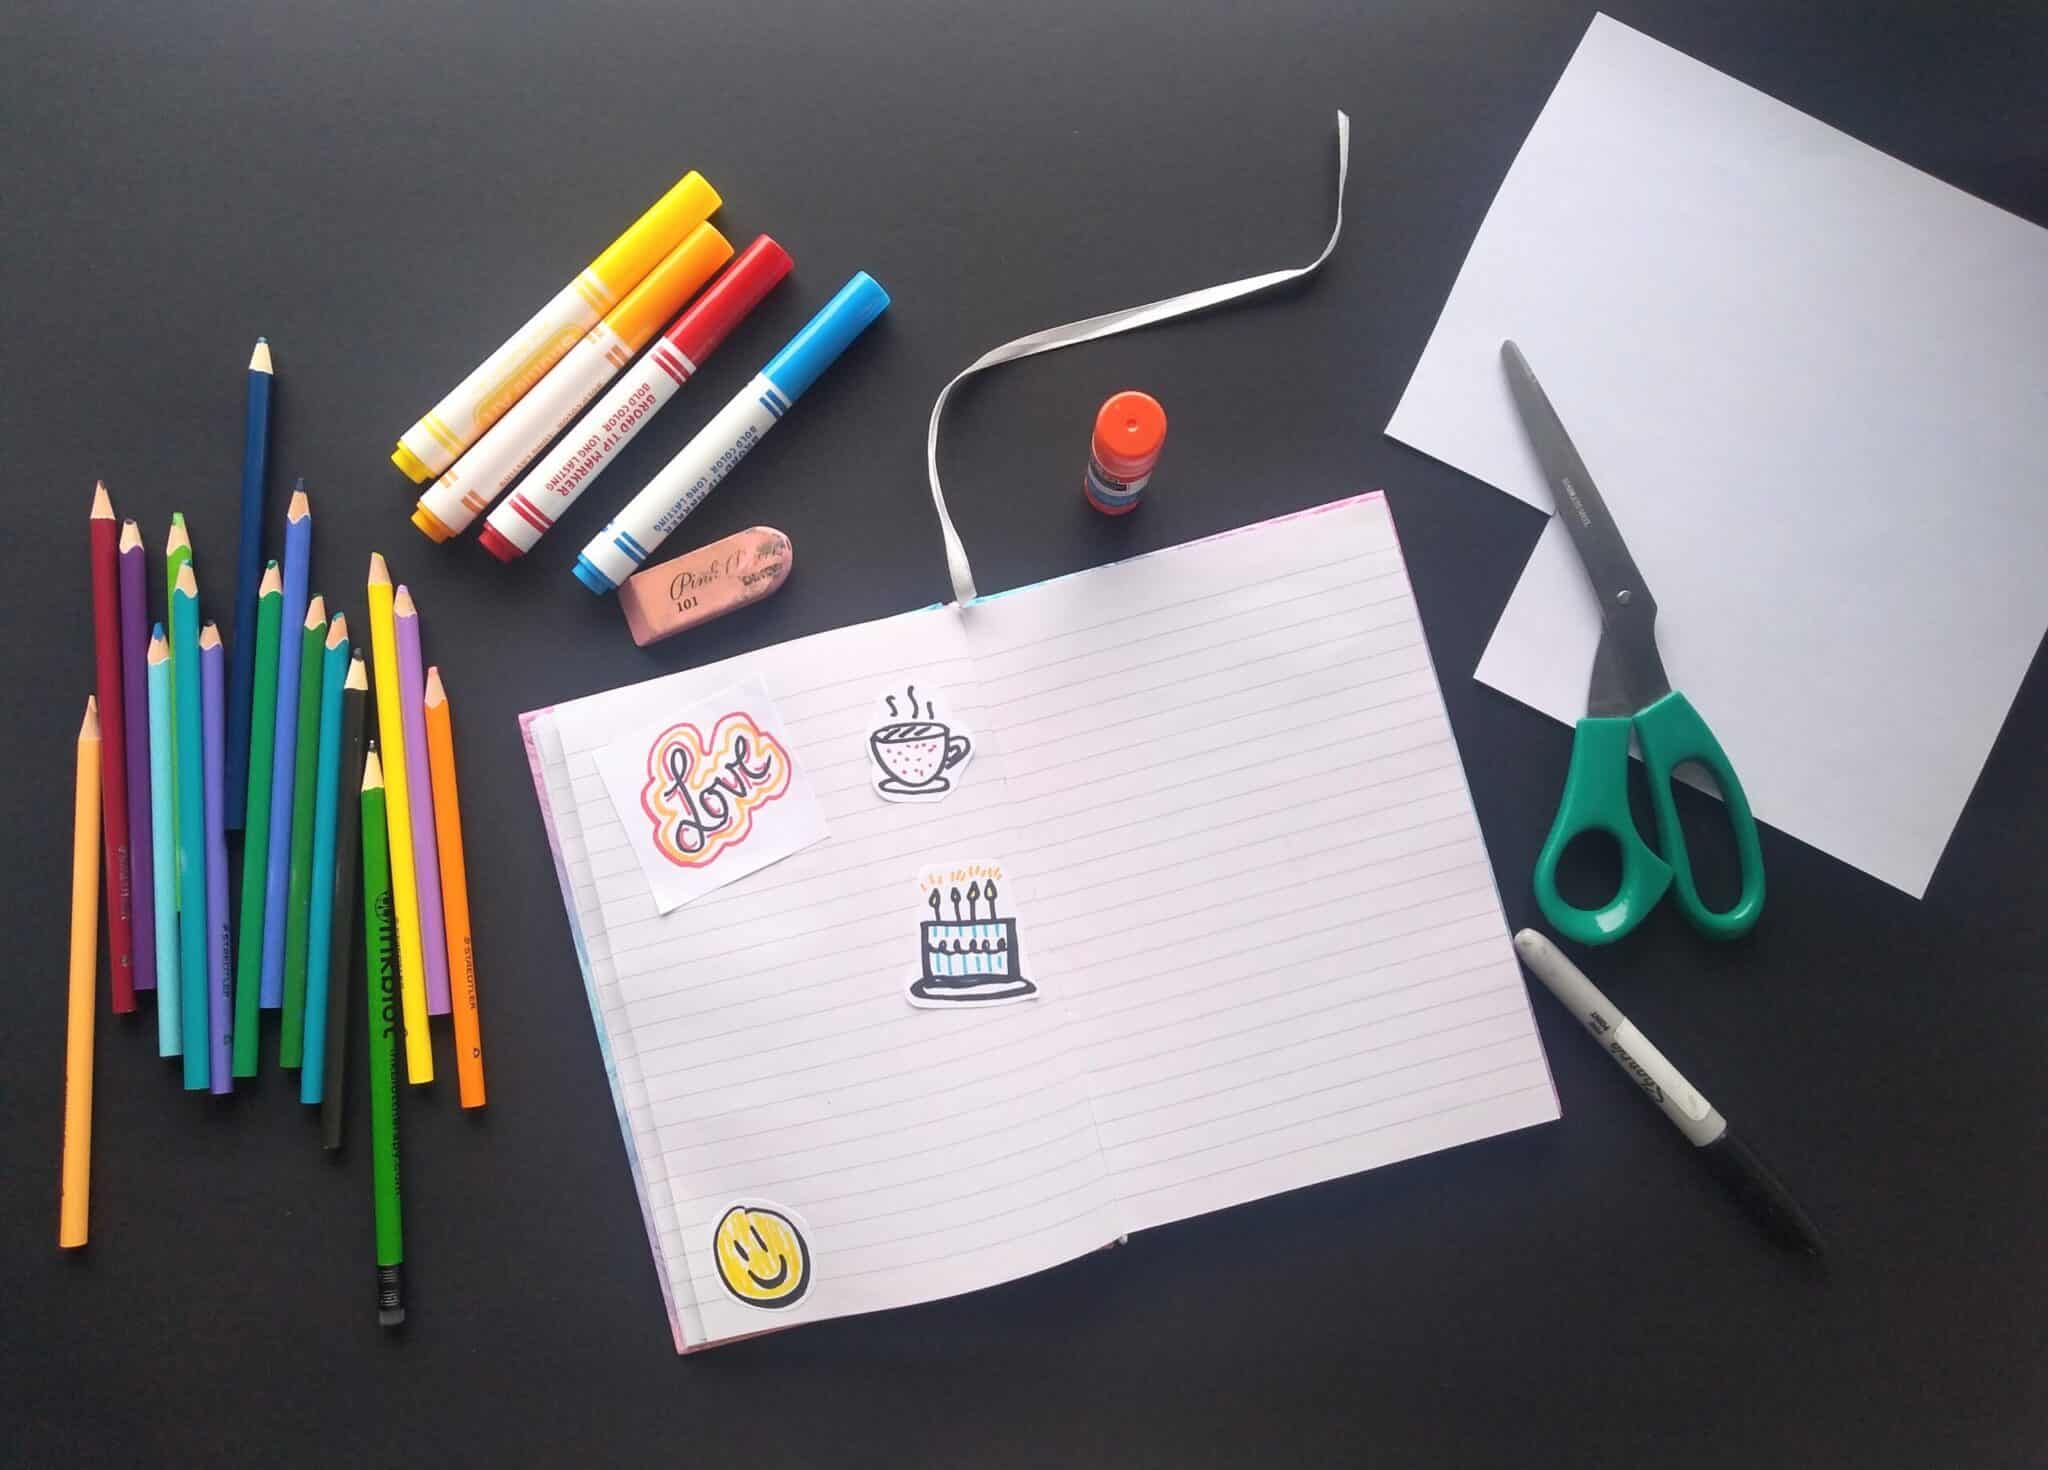
Materials:
- Black fine tip marker or pen
- Pencil
- Eraser
- A few sheets of paper
- Things to colour with (markers, pencil crayons, etc.)
- Option: Scissors, glue and paper/journal
Before getting started, find a comfortable place for you to create your art. Limit sound distractions or enhance your atmosphere with music. Take a deep breath in and out at your own pace to reset your mind and body to welcome the creative flow.
STEP 1: REFLECTION
If you prefer to listen to the audio recording of the reflection questions please play below.
When creating our icons, we want to gather ideas.
Think about a recent or past event (a celebration like a birthday, wedding, a day something happened that made you proud, an outing like going to acafe, a vacation, or your morning routine and consider all the things you did:
- What did you feel (what made you happy, proud, sad, mad, etc.)?
- What did you hear (any phrases, sayings that stood out)?
- What did you smell (foods, flowers, etc.)?
- What did you see (birds, people, buildings, etc.)?
- What did you taste (foods, drinks, etc.)?
- Any other things that happened through that day?
When you start thinking about these things, start writing them down on a sheet of paper. No need for full sentences, pointform is fine.
STEP 2: ILLUSTRATION
Put your ideas sheet aside and let’s talk about drawing it out! You don’t have to be an ‘artist’ to create these icons. You can use words as your icons to describe the experience and/or you can also draw out the ideas. They are representations of what has happened and memories from your own personal experiences.
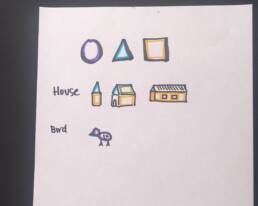
If you decide you want to try to illustrate your icons, everything starts with basic shapes of a circle, triangle or square/rectangle shapes. Try different styles and ideas of how you can enhance the drawing.
Here are two examples of drawing a bird and house using circles, triangles and rectangles.
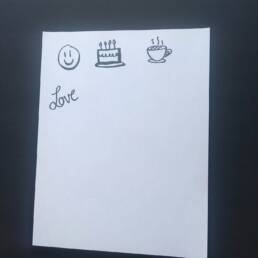
STEP 3: CREATE
After you’ve practiced and warmed up your drawing skills, you can now plan out what you want to select from the day to highlight from that event. From the selection, draw or write out the text that stand out from that day. These are things you want to remember or highlight from the event.
It does not have to literally be the representation, it can also be a metaphor. For example feeling anger could be a tornado or fire, hearing cheering sounds could be a cone shaped megaphone. They don’t have to be ‘perfect’, you are just practicing your drawing skills.
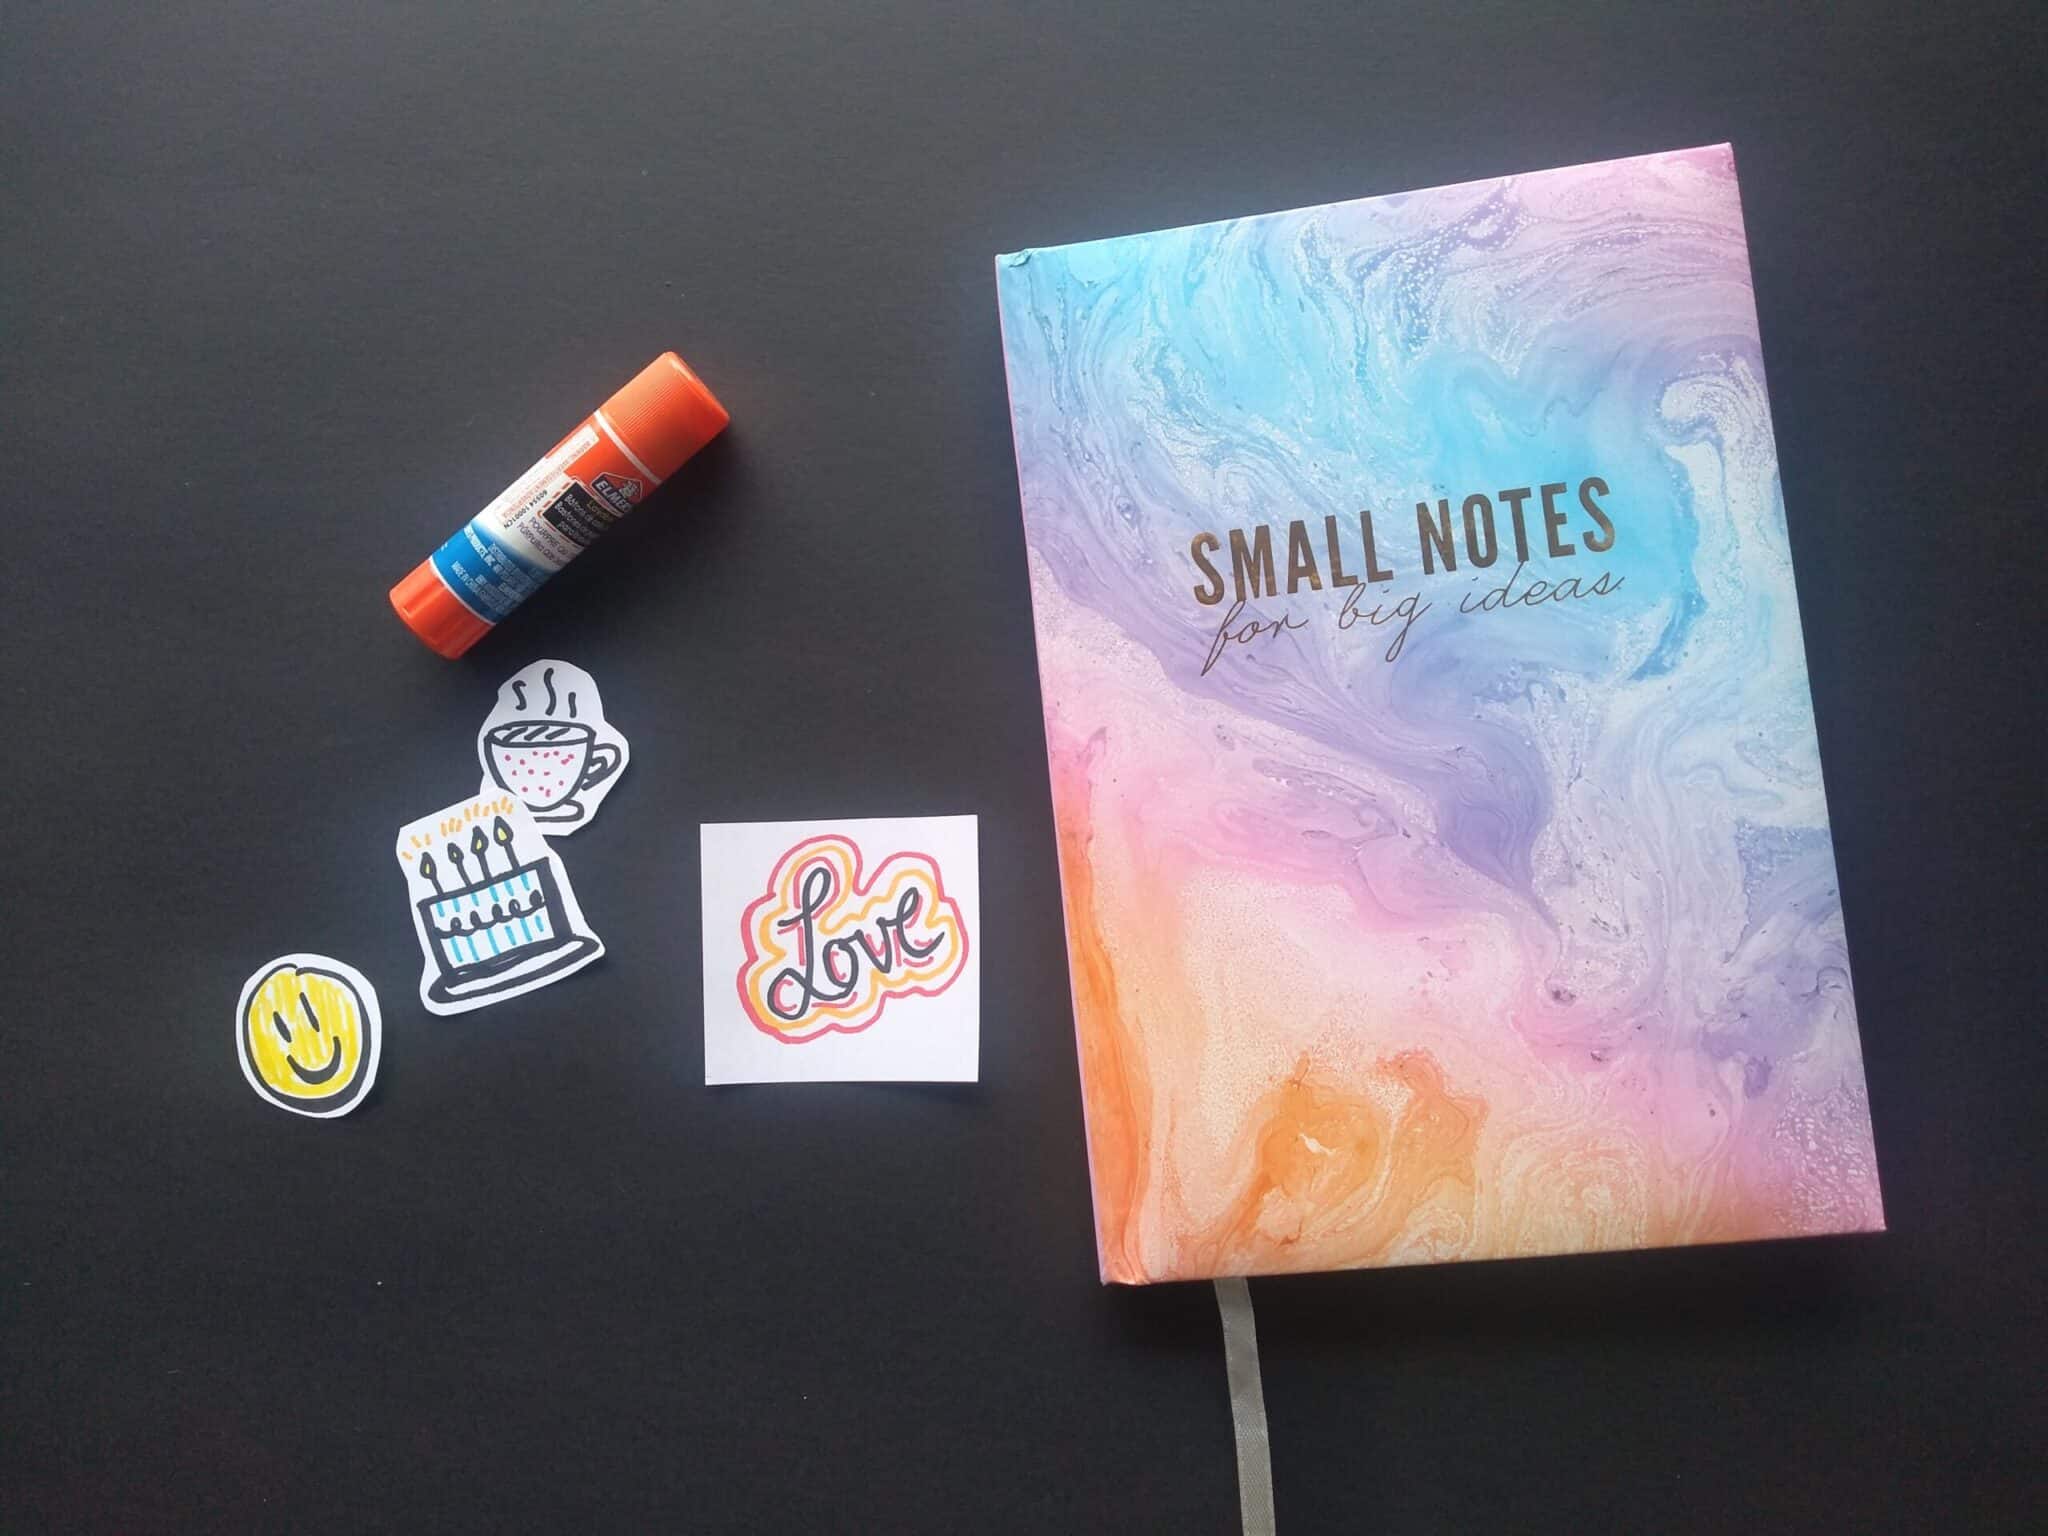
Create your drawings separately giving space for each one so you can cut it out later. Leave white spaces so you can colour it in, if you want.

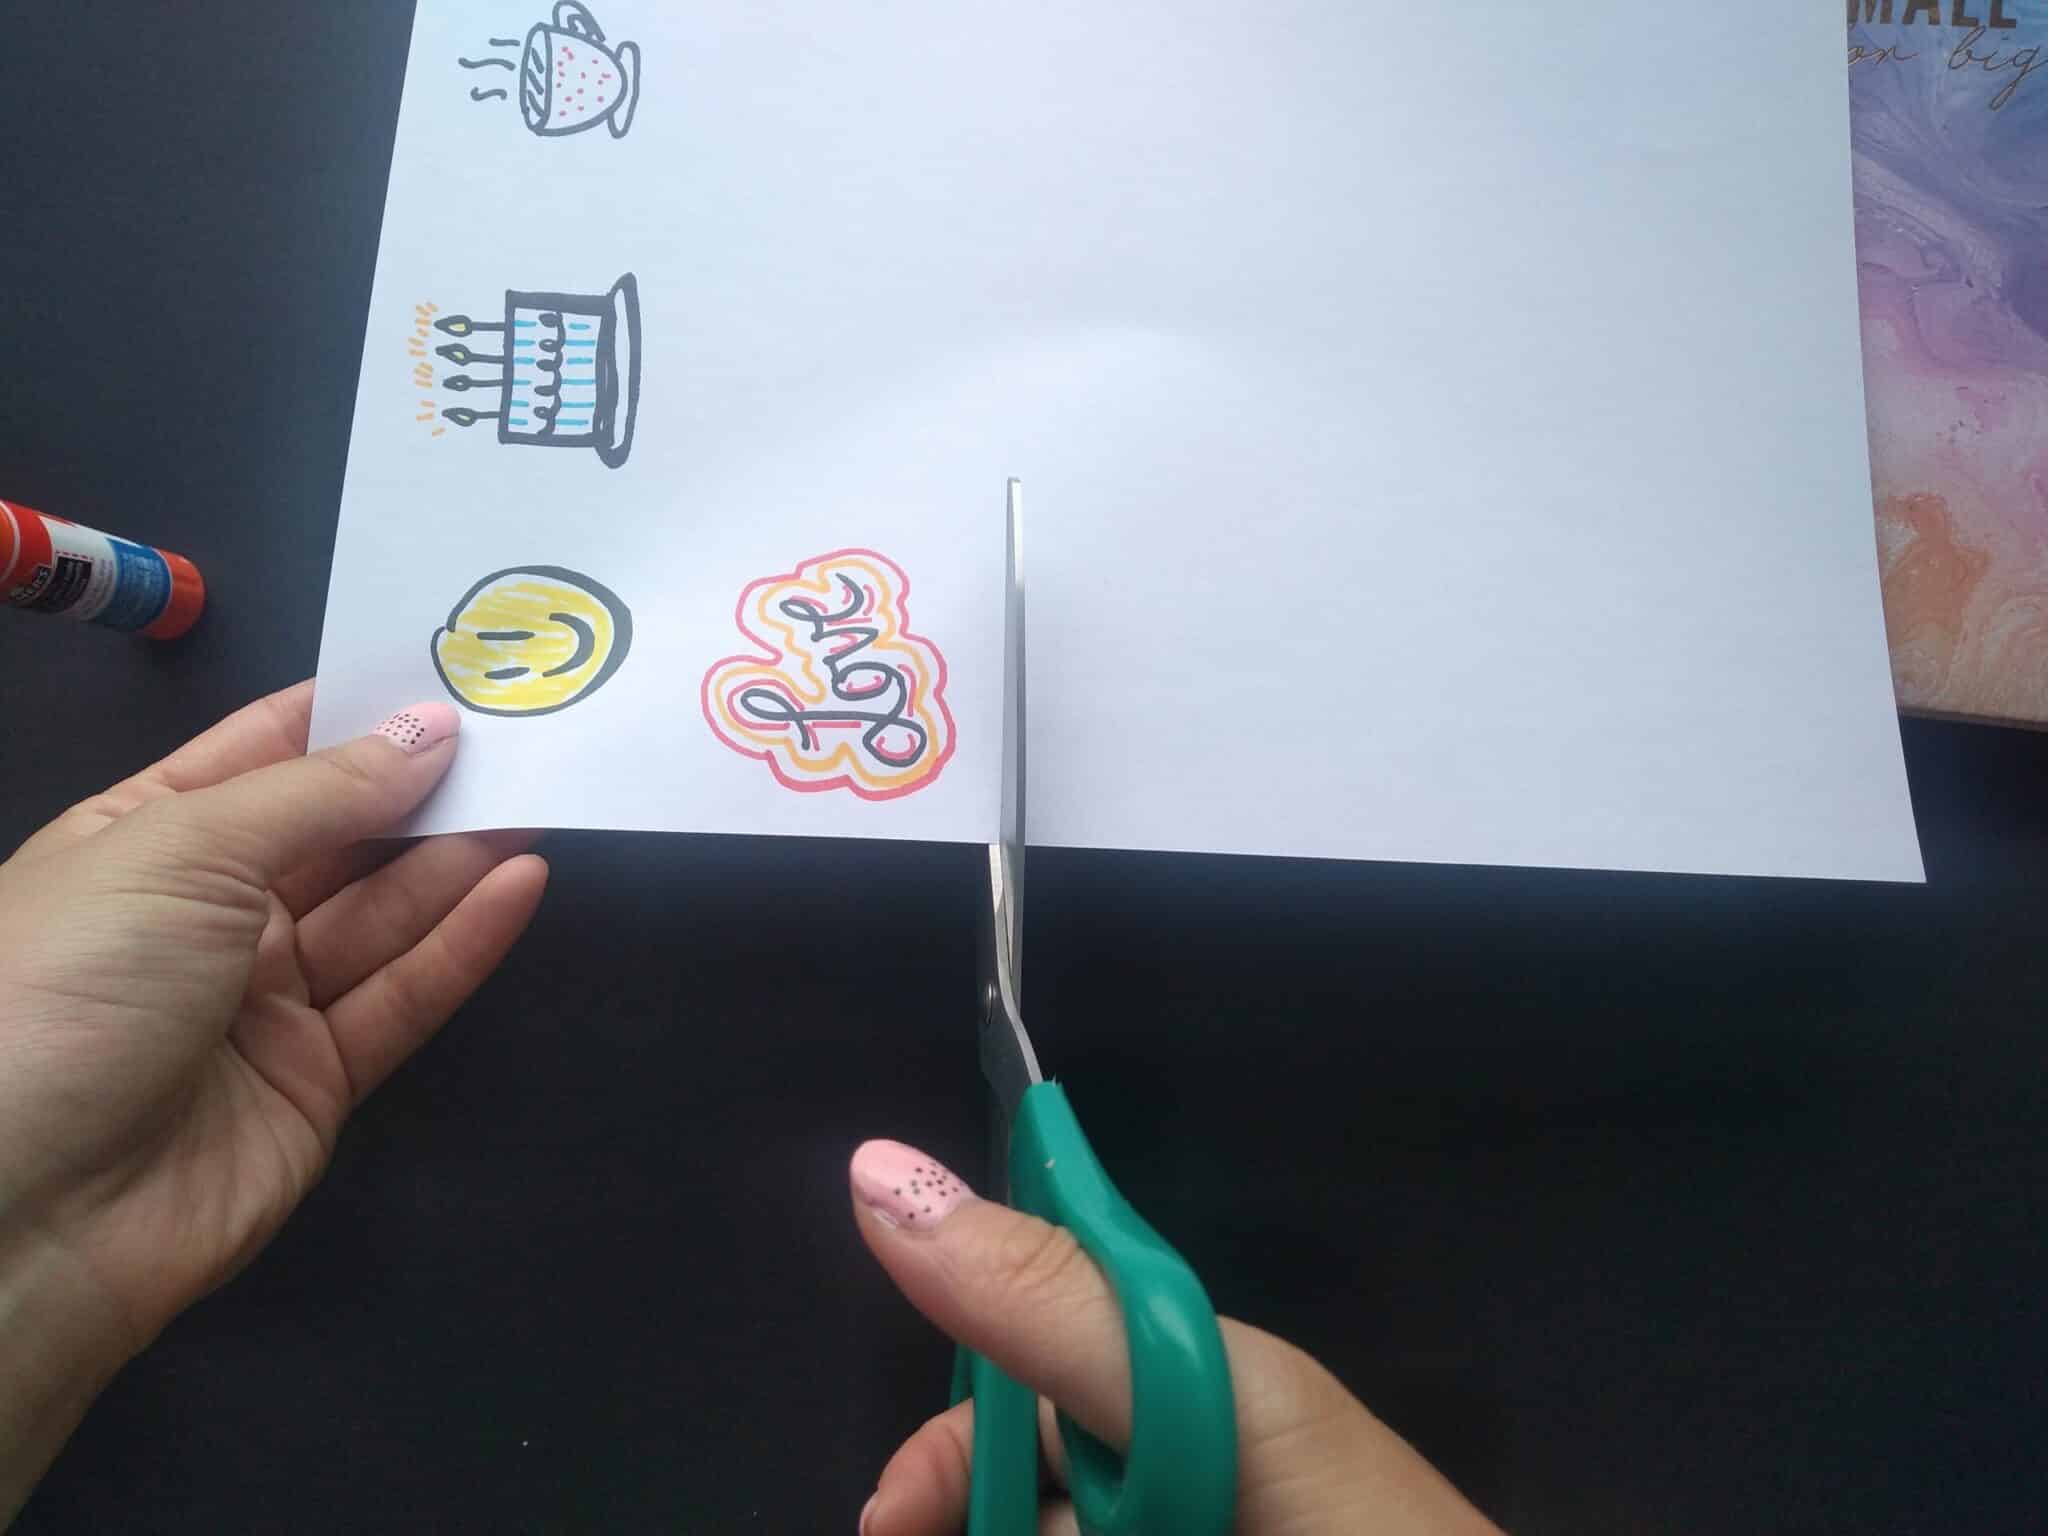
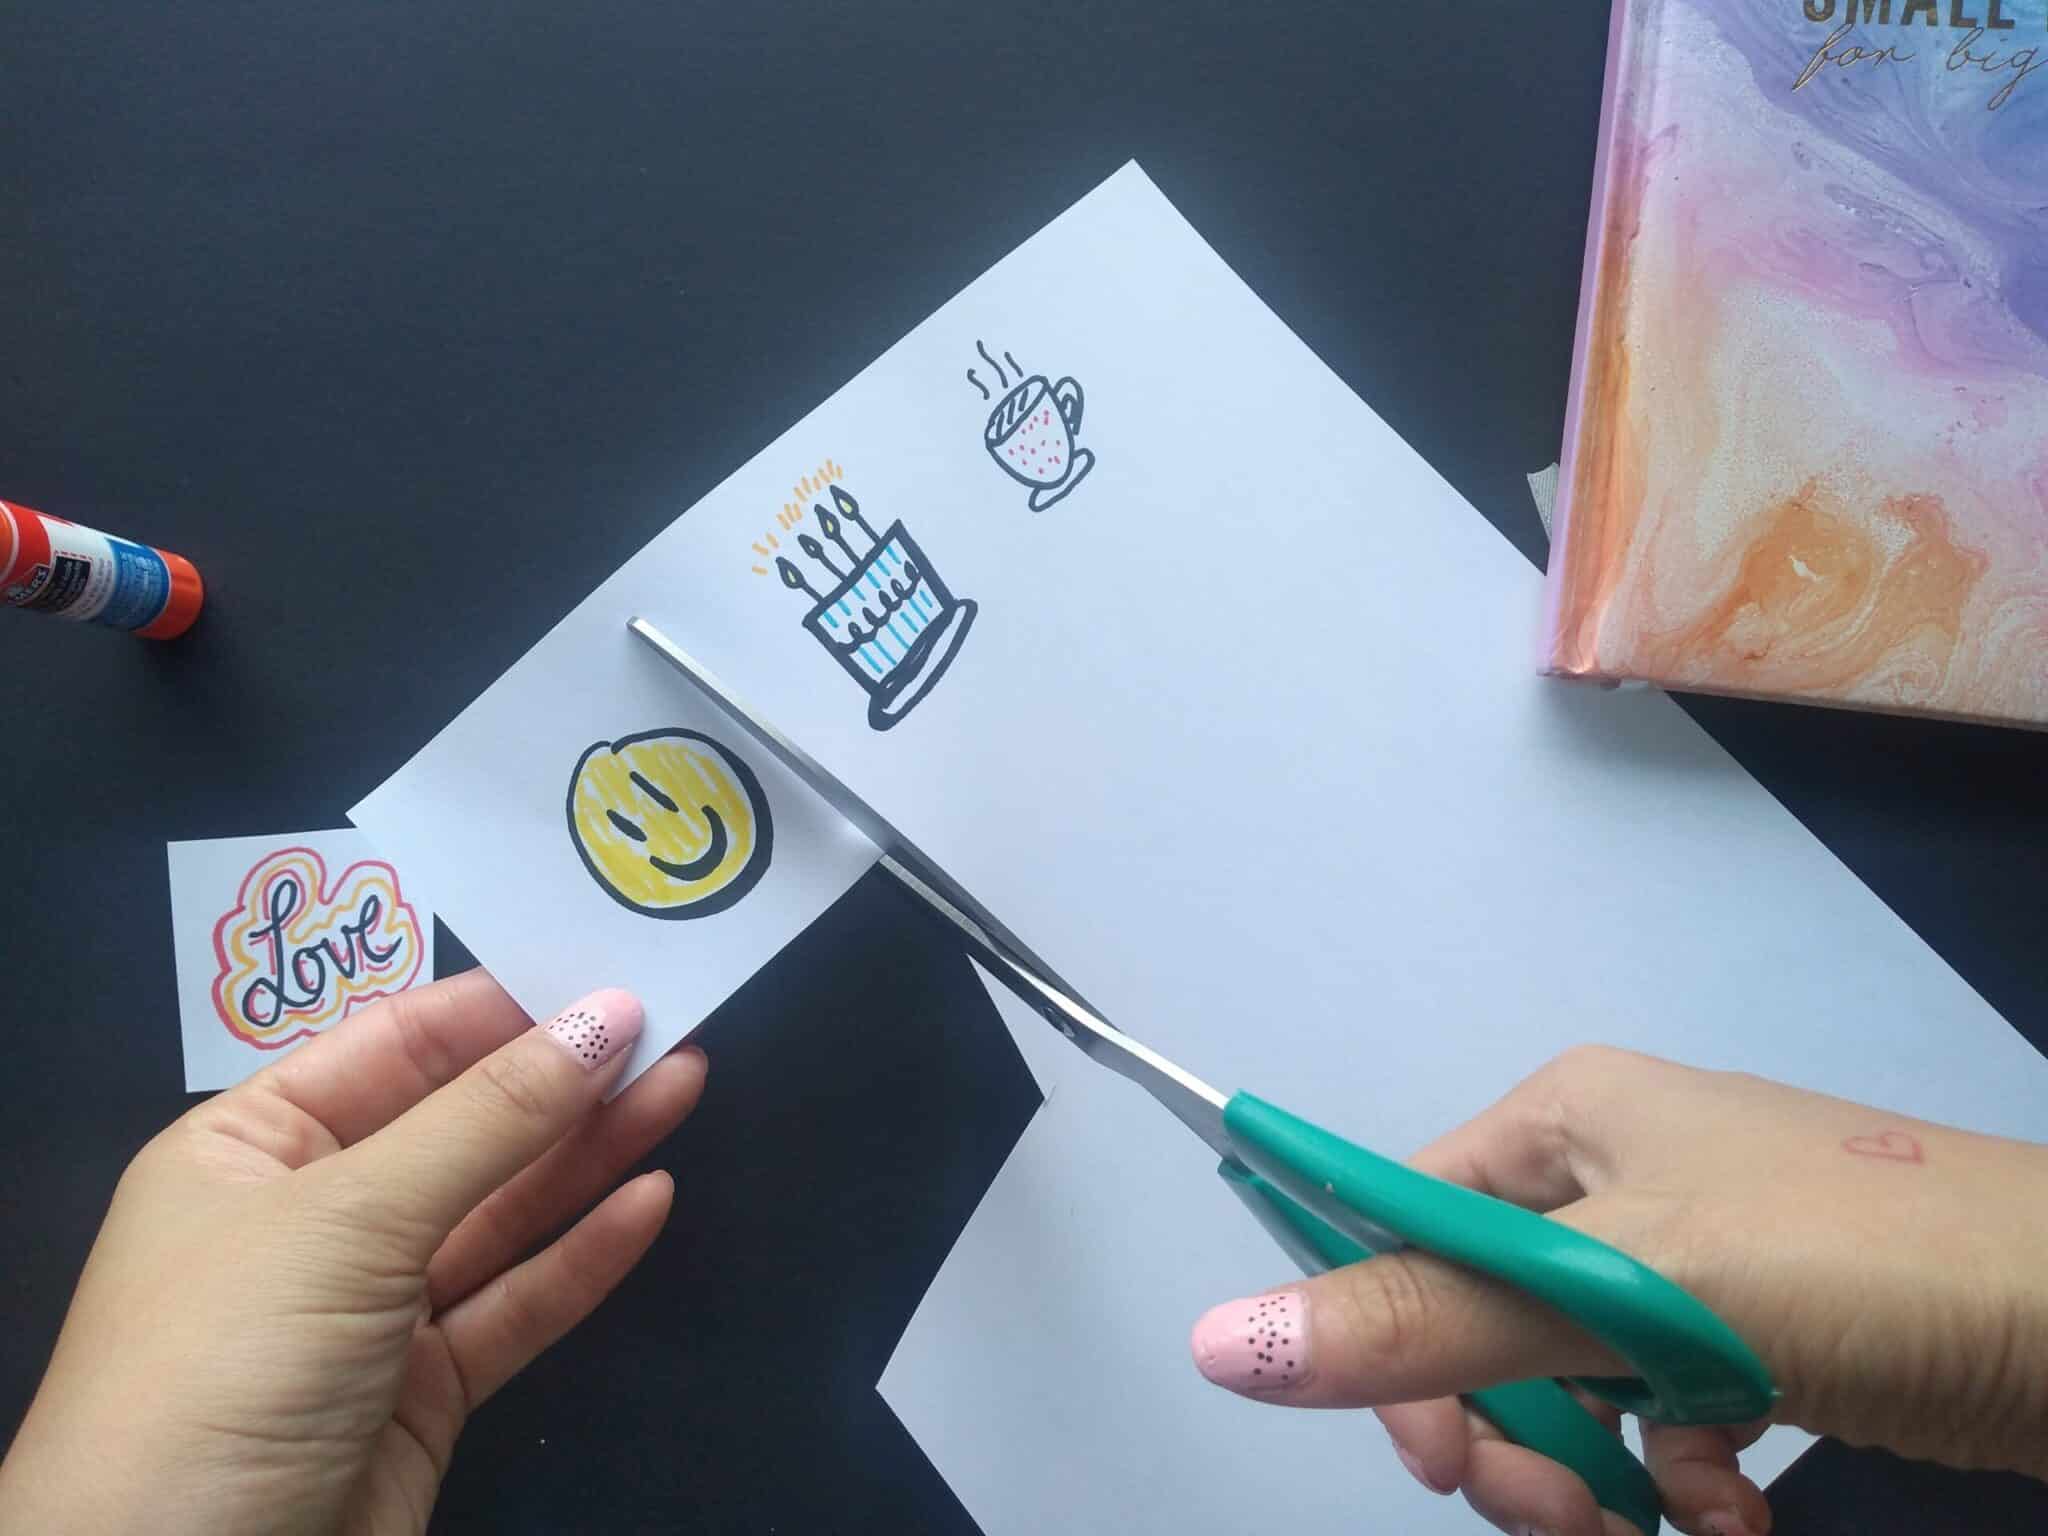
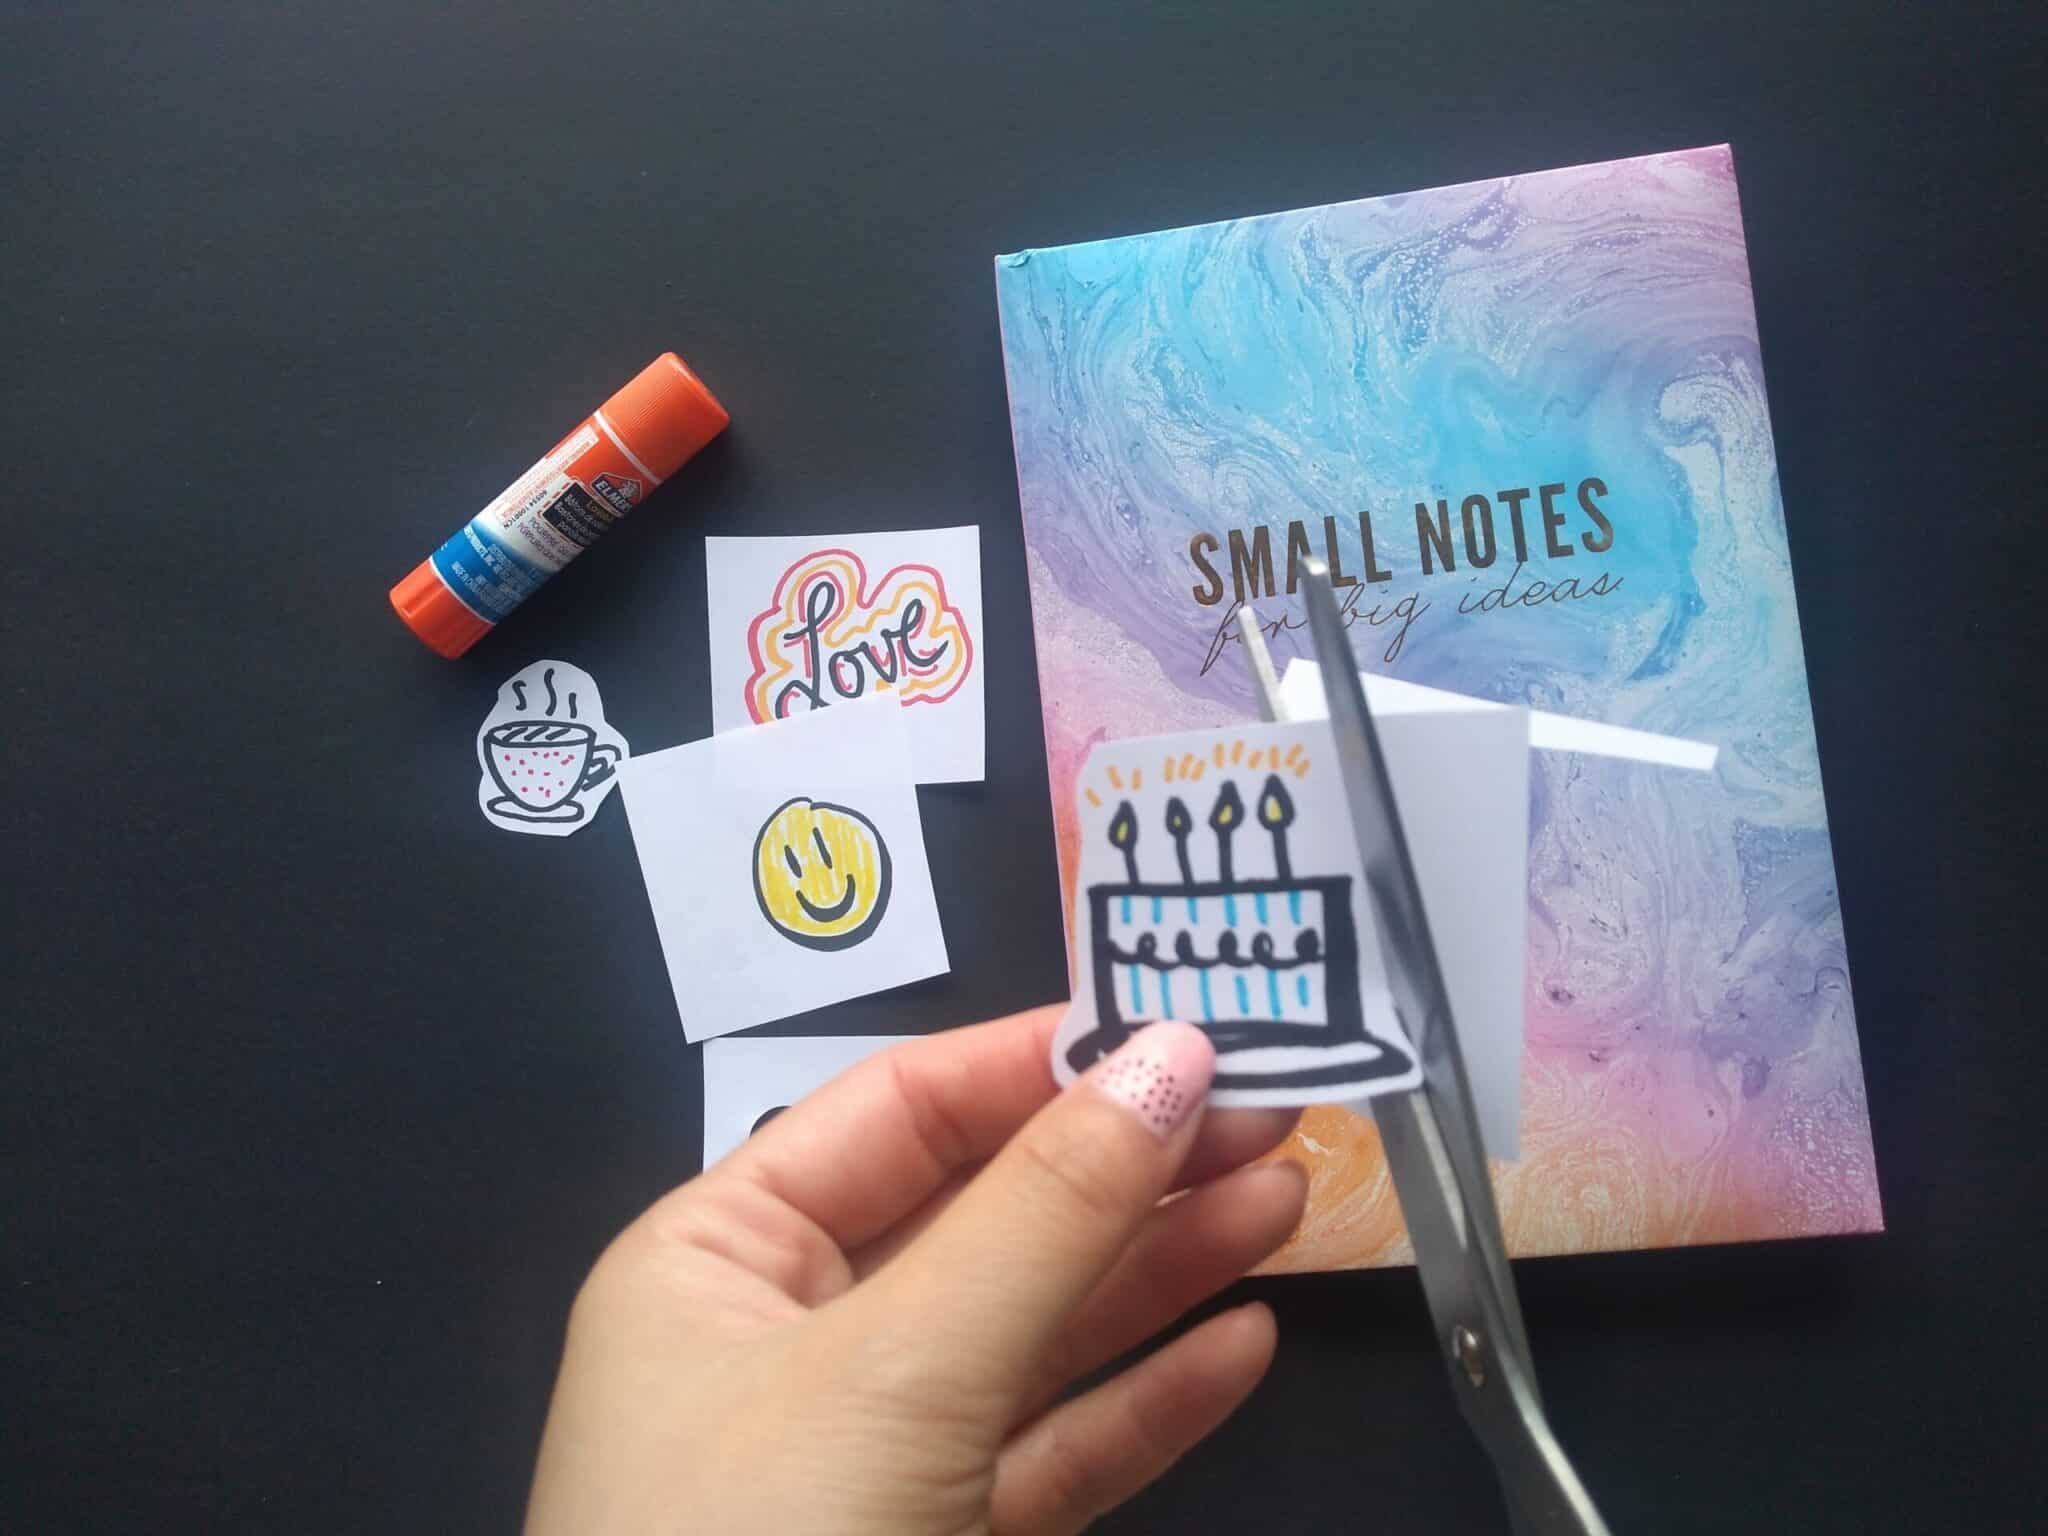
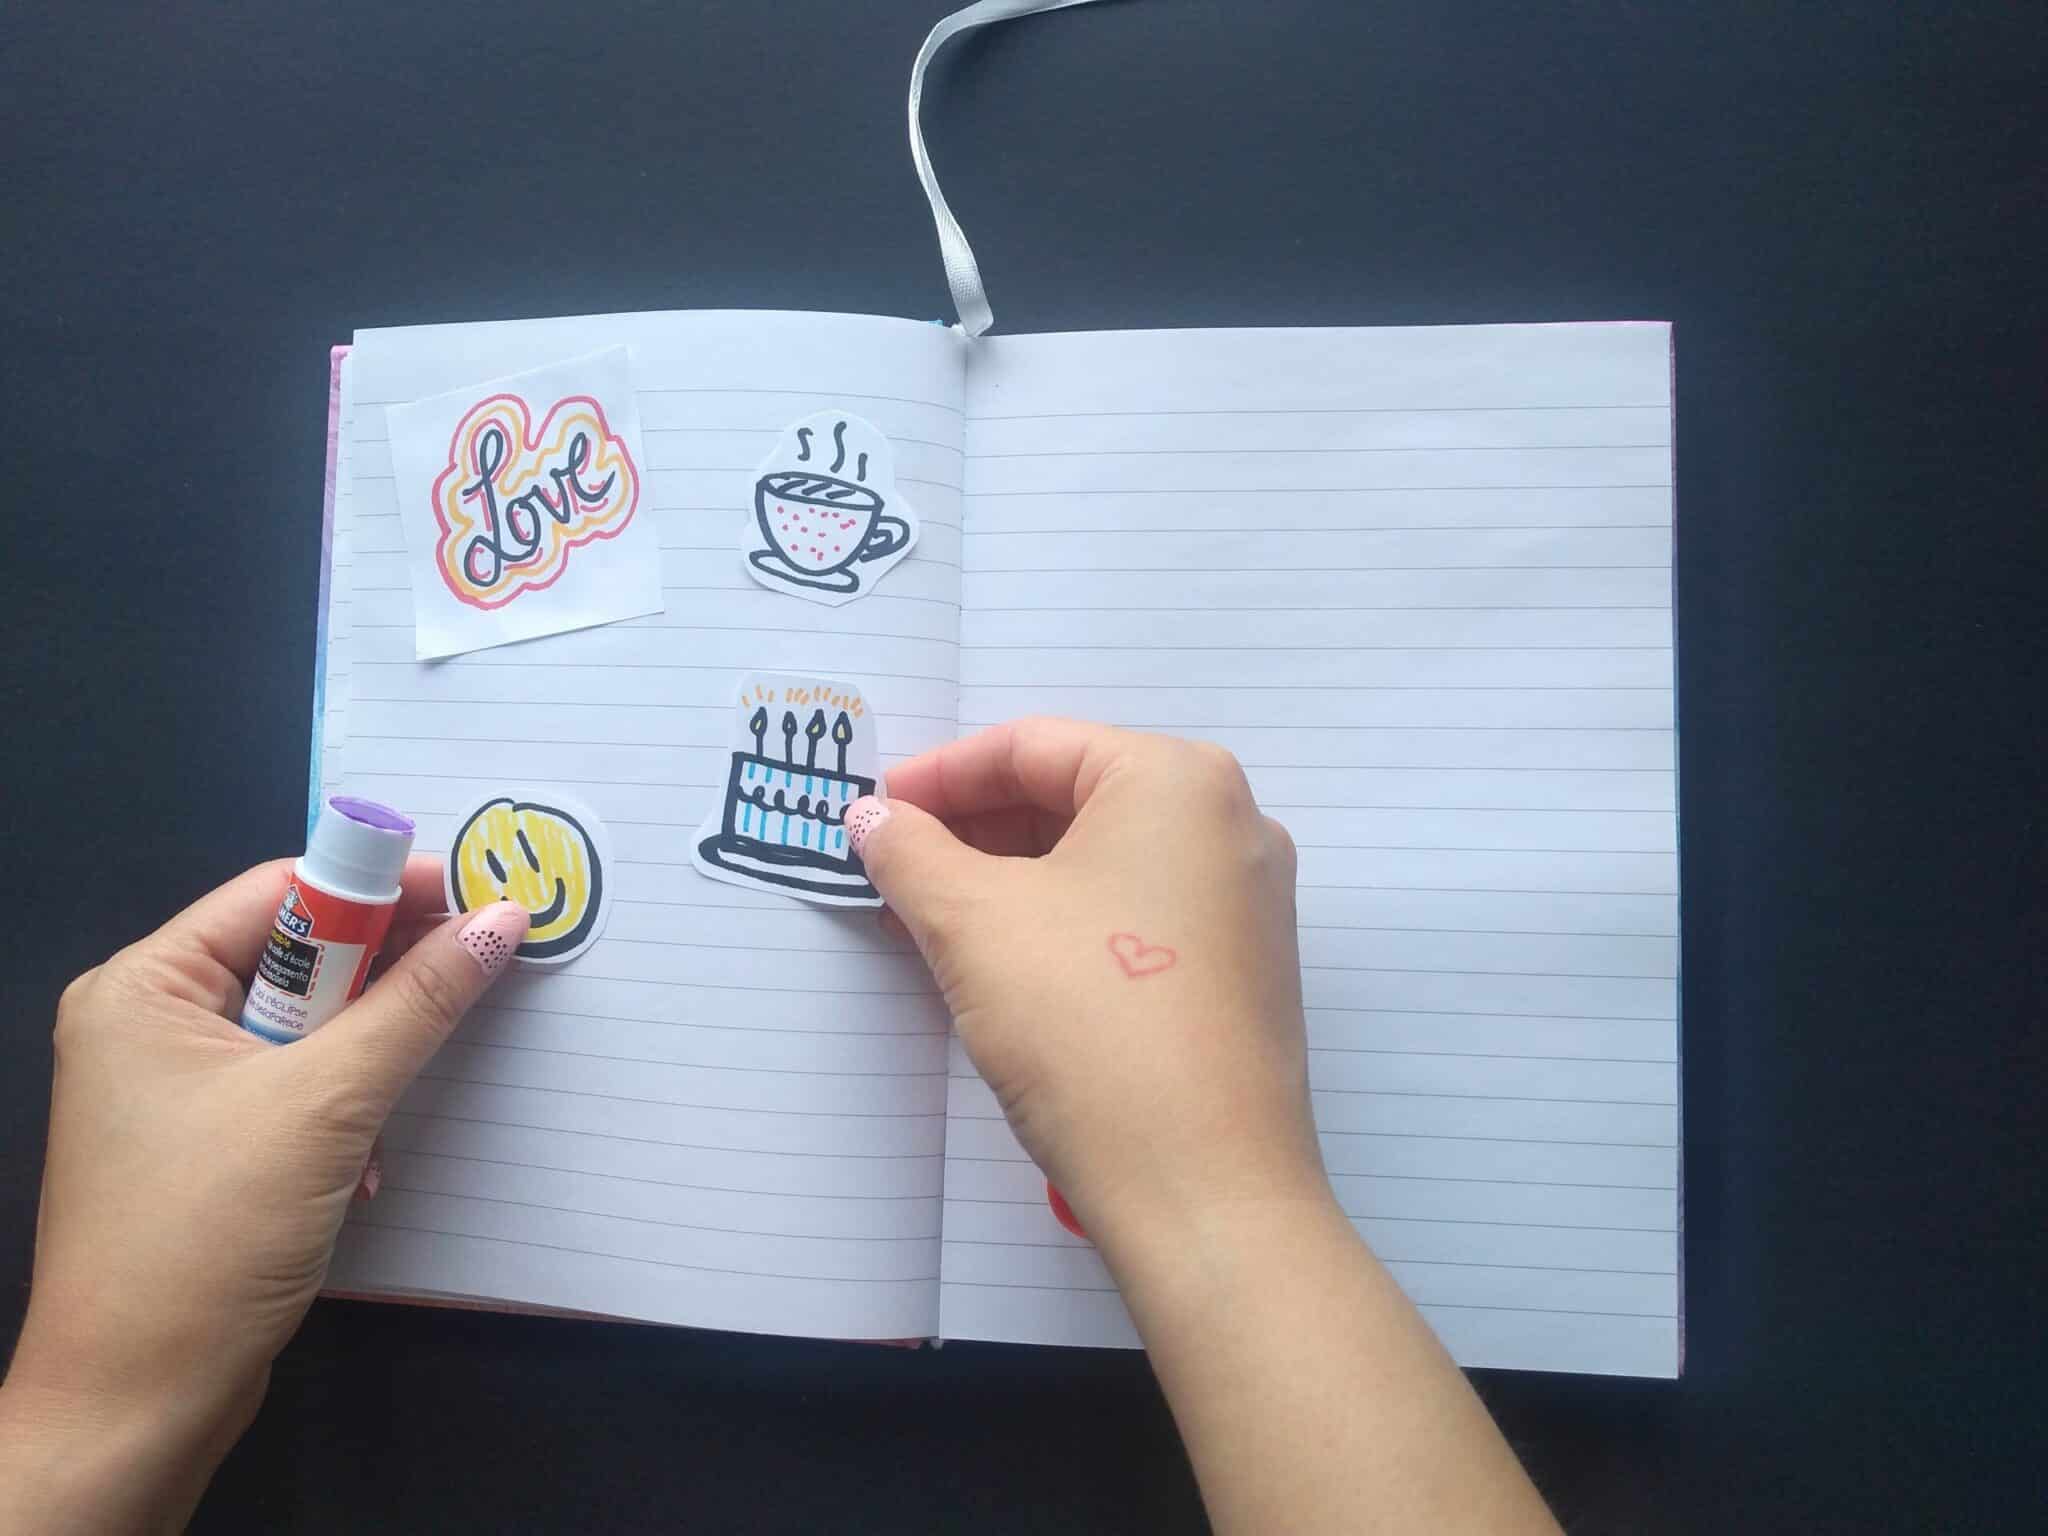
STEP 4: CUT OUT & GLUE
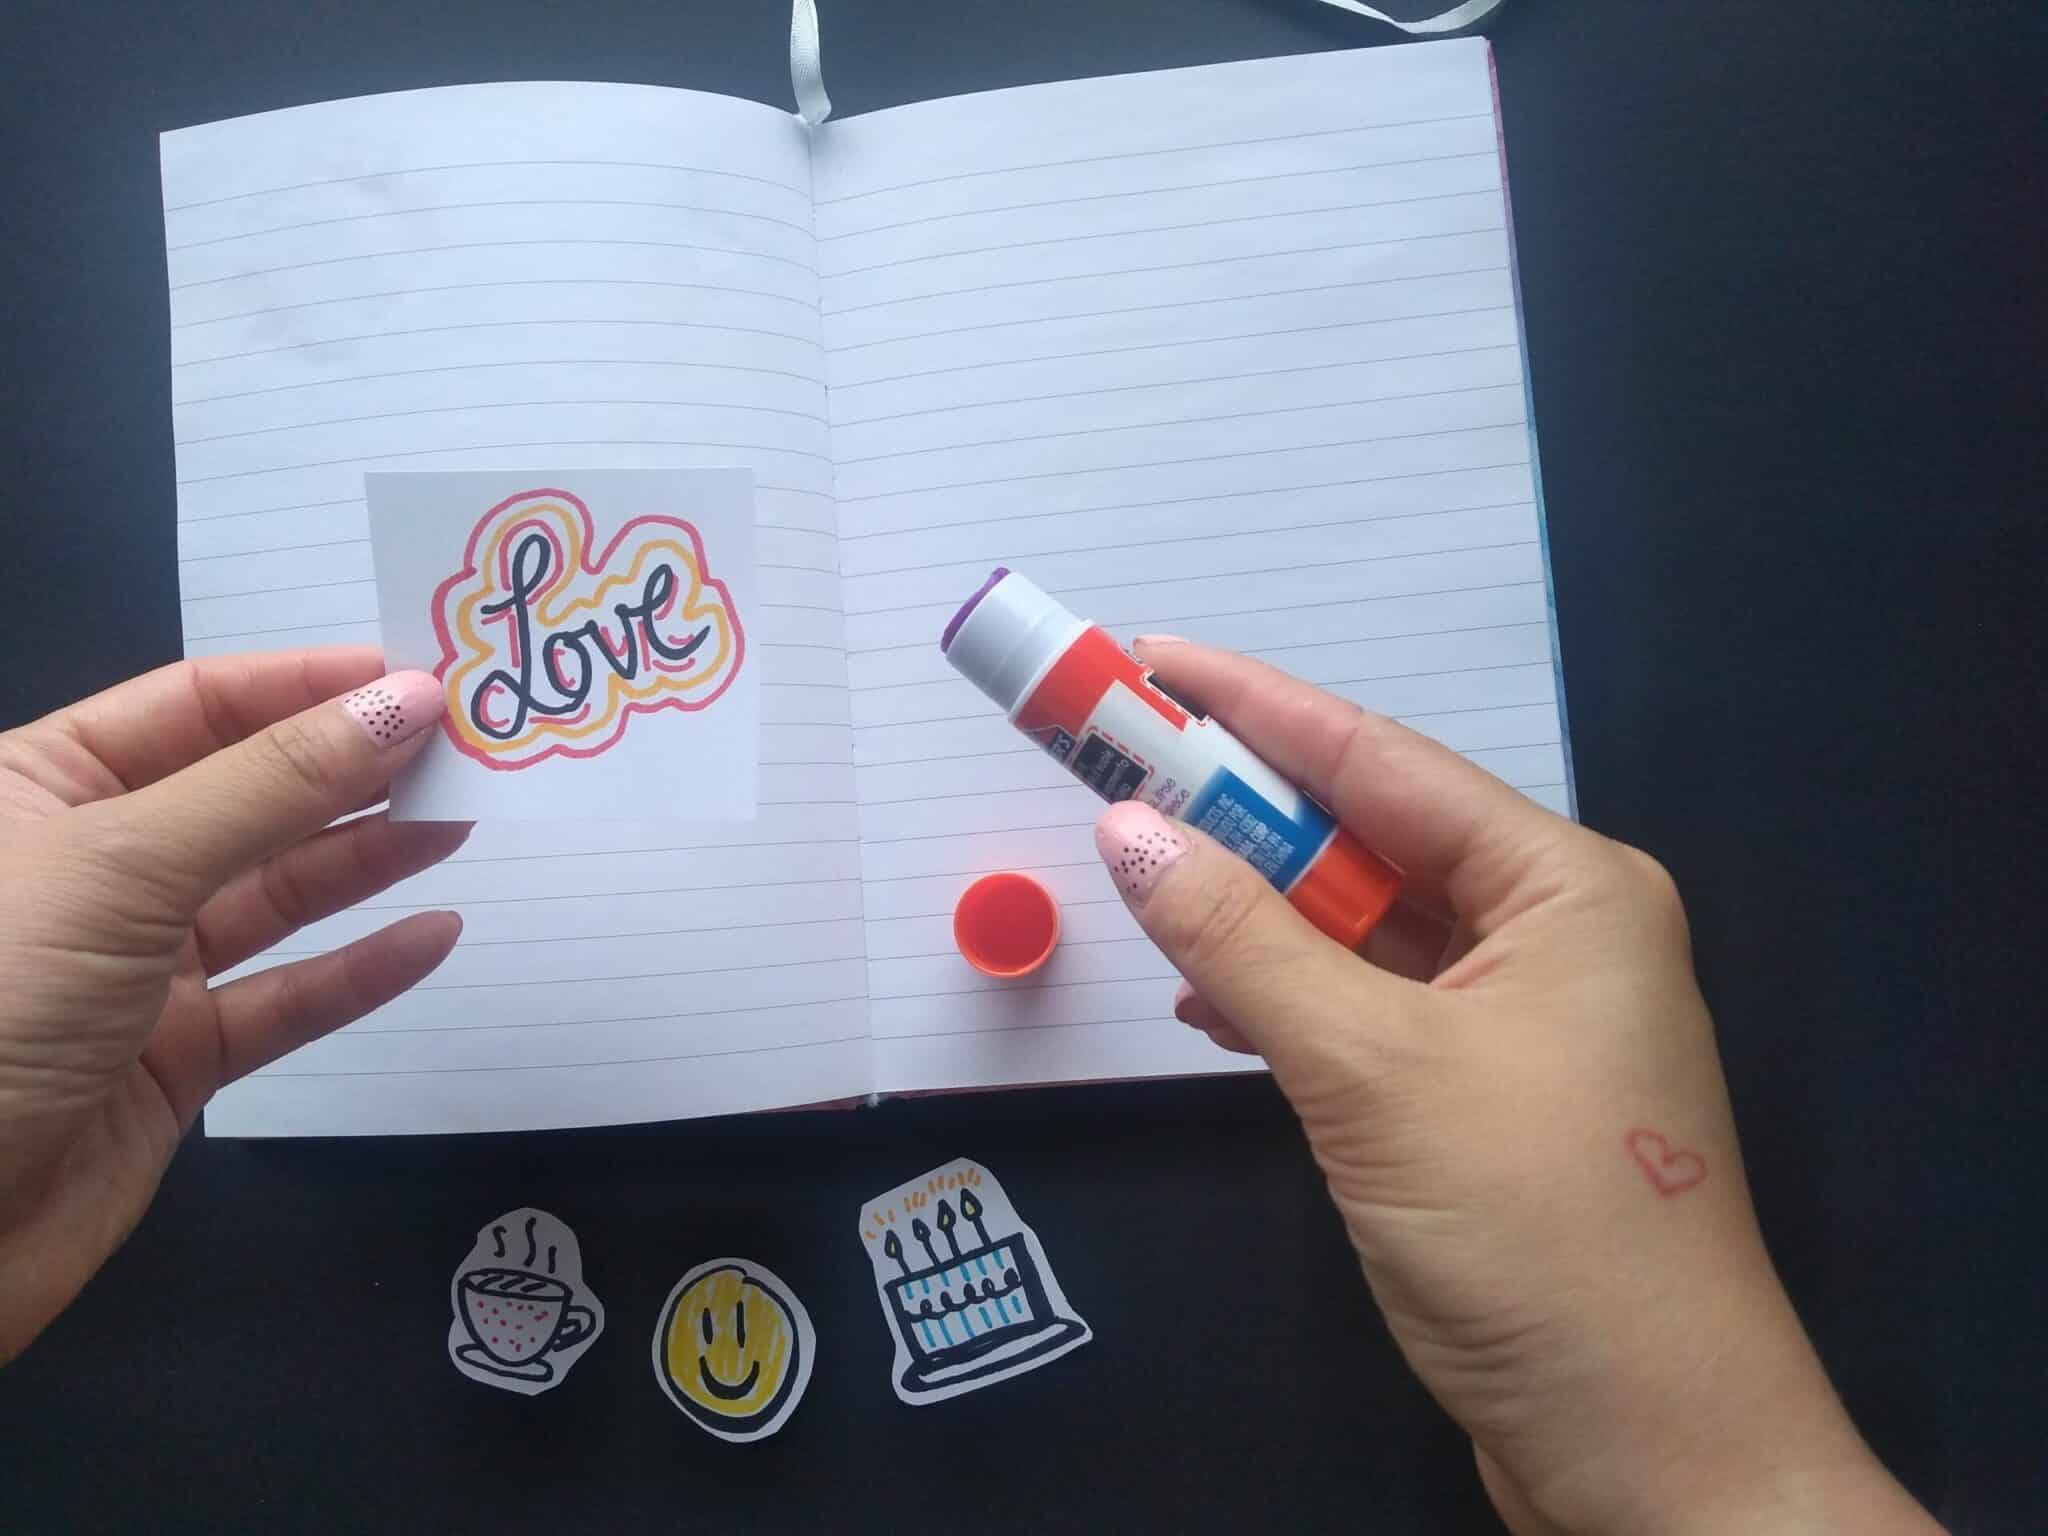
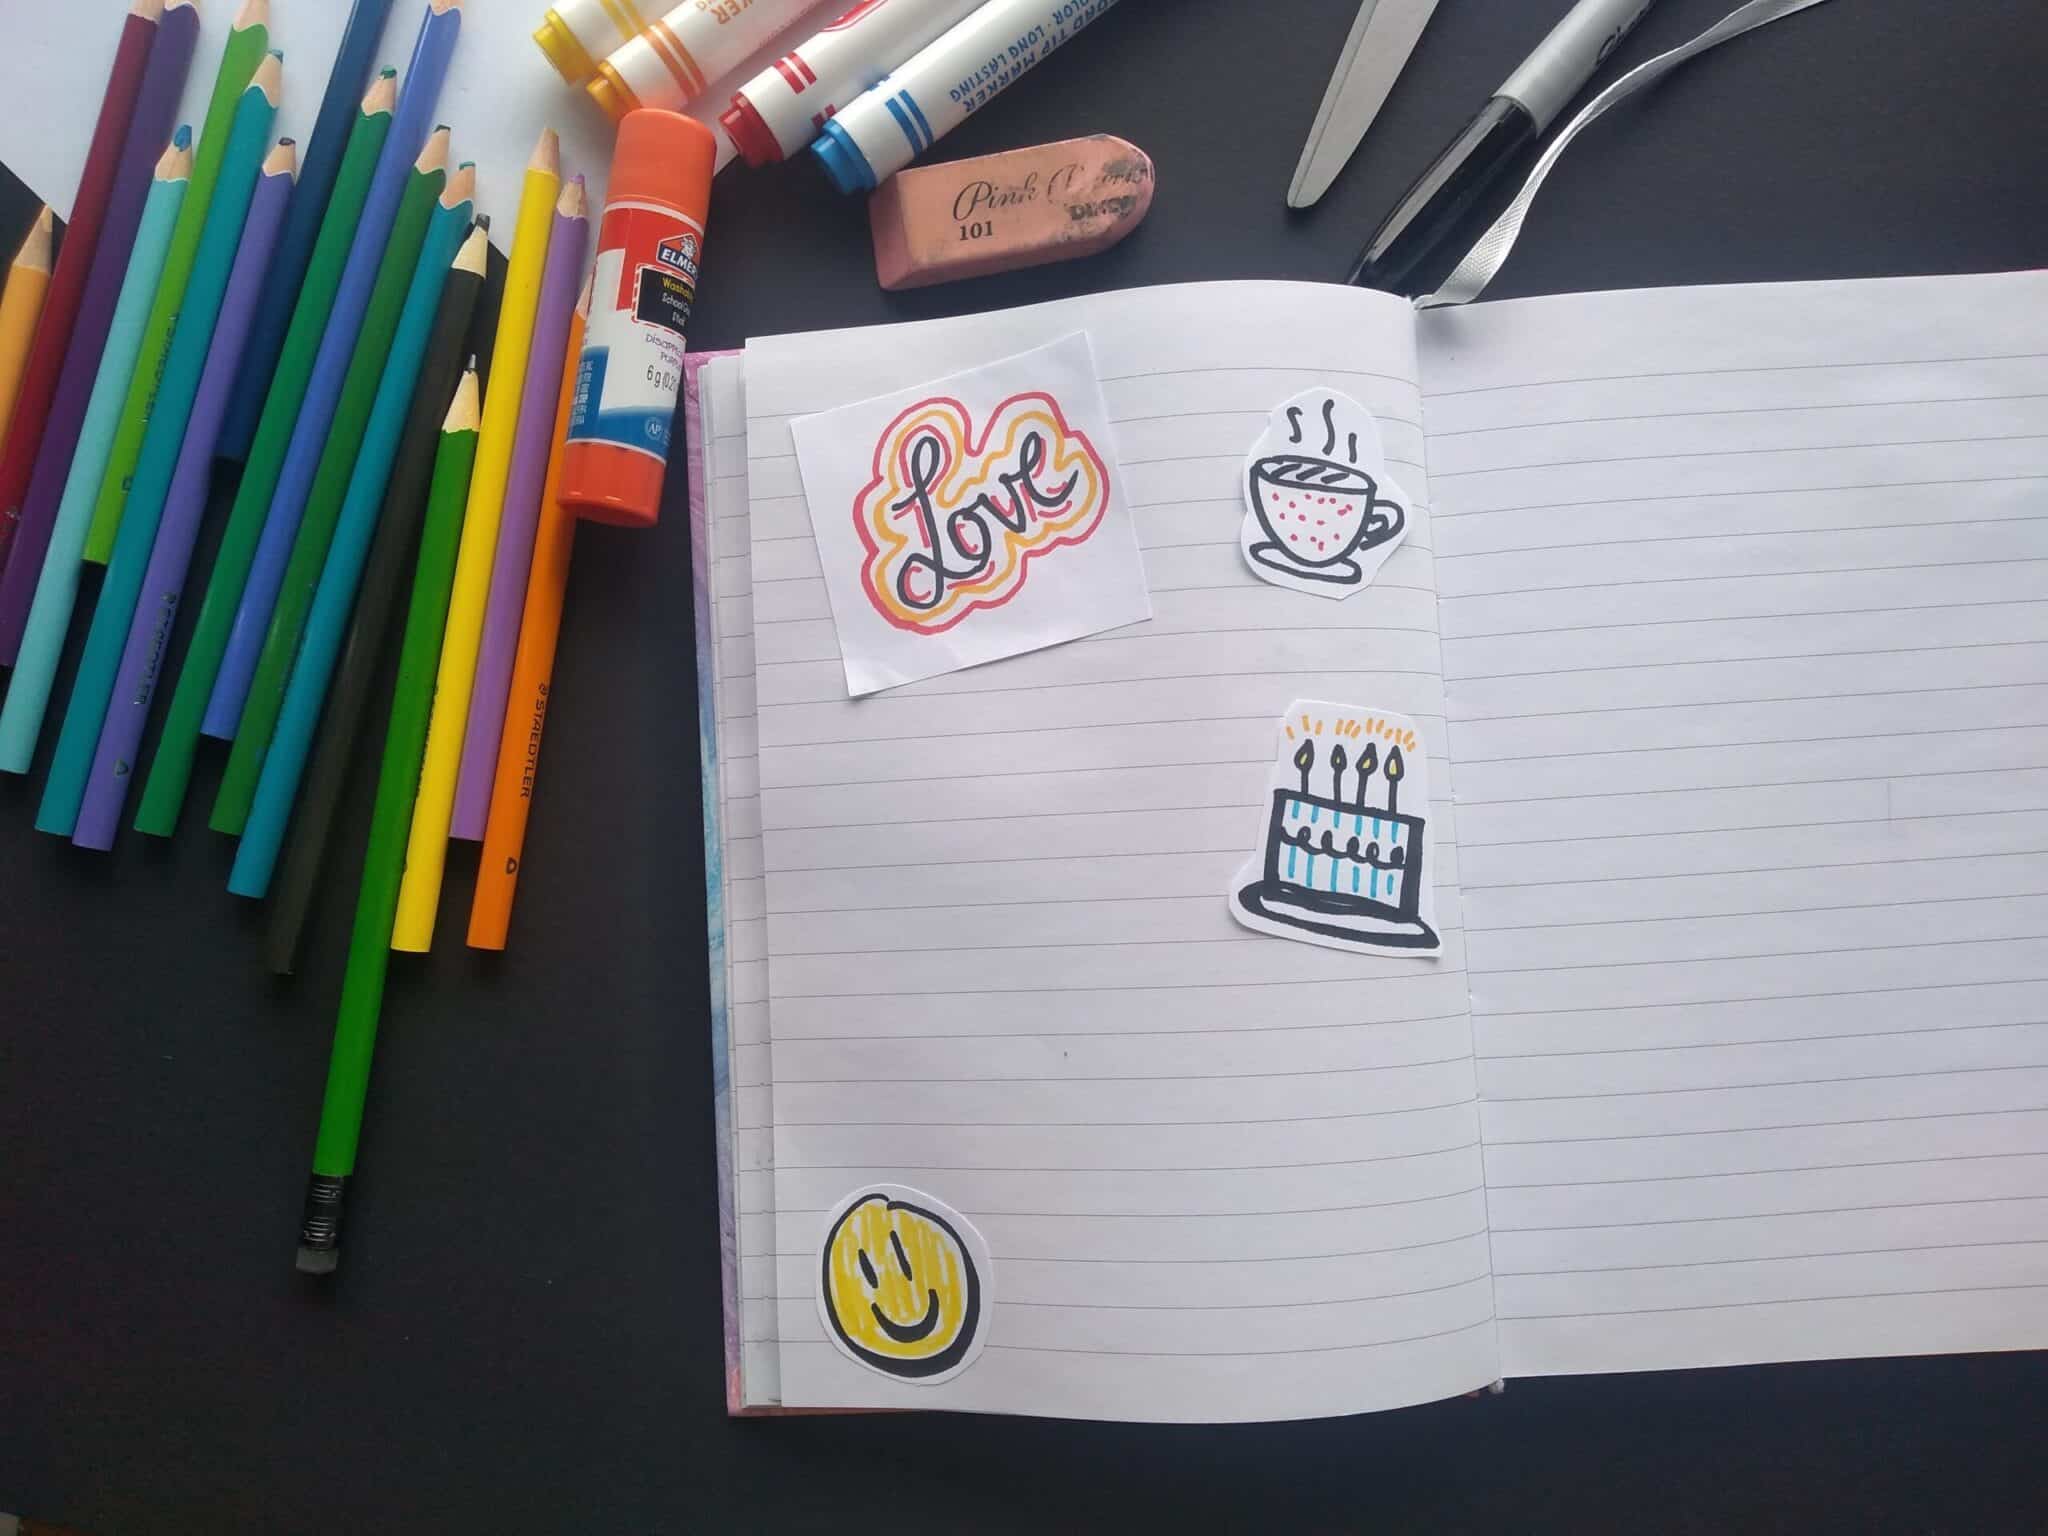
Now you can cut out the drawings. You can cut close to it, around the shape or a square border, whatever you want! You can now glue them into your journal or a piece of paper to put on display to remember this day.

At the in person workshop we will work together on creating stickers to add to a board. You can bring the piece you’ve created and make a sticker version of it or create more pieces to add to our bigger creation we will make together.
This activity was developed by Amanda Lederle, one of our 2022 @ The Library Residents. Learn more here.